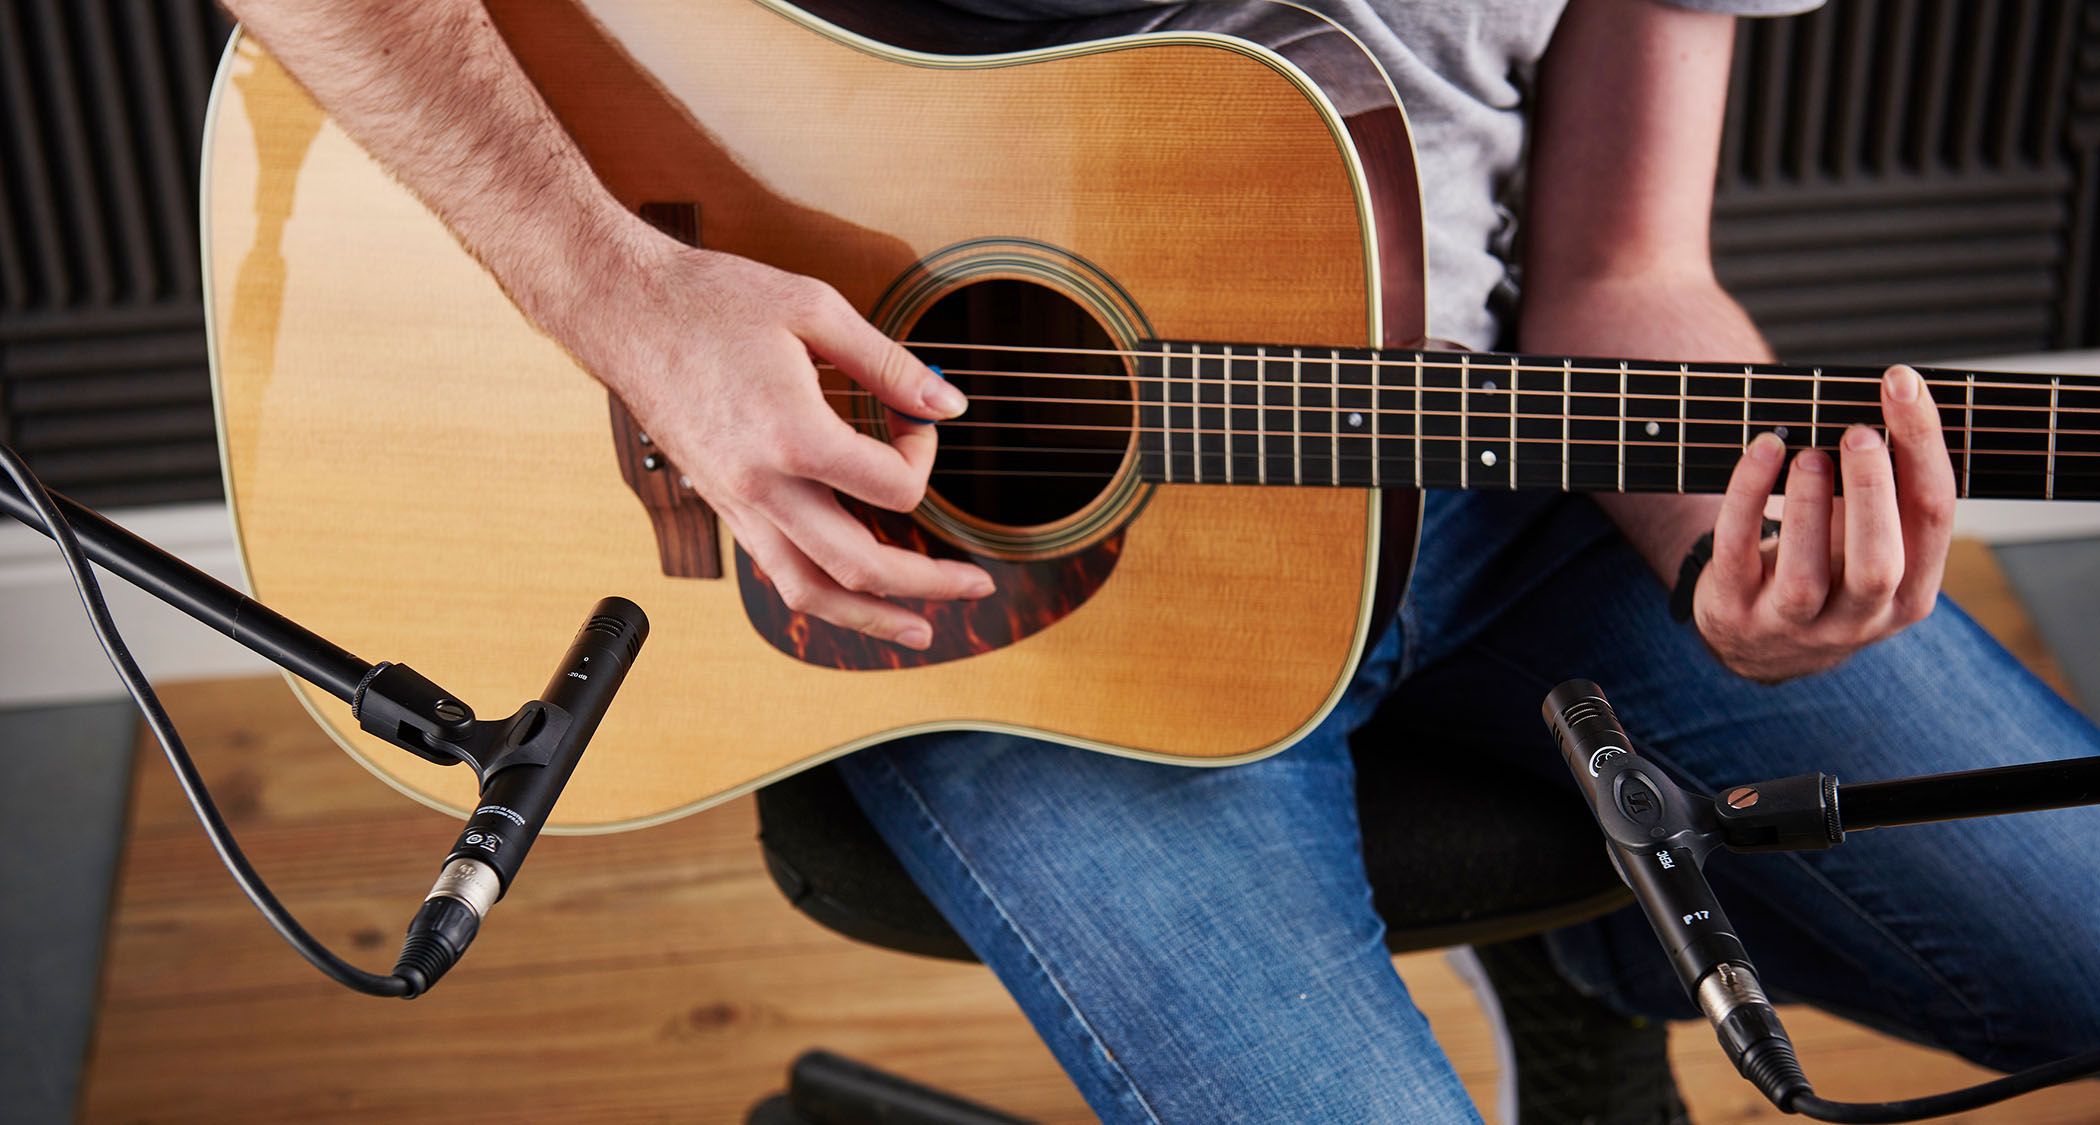
For manny aspiring musicians, the experience of aiming a condenser microphone at an acoustic guitar, only to be met with a lackluster recording, can be disheartening. I can certainly relate. Capturing the essence of an acoustic guitar-be it a flat-top, archtop, steel-string, or nylon-string instrument-can prove challenging, especially for those recording themselves. The truth is, most acoustic tracks are recorded in less-than-ideal settings, ranging from basic home studios to fully untreated spaces like bedrooms or even bathrooms.
Before diving into the recording process, it’s crucial to ensure that the sound source is of high quality. I recently spoke with Nashville recording expert Rory Rositas, known for his work with artists like Tommy Emmanuel and Bryan Sutton, who emphasized the importance of the source sound. “A great song can shine through a poor recording, but the source is paramount. If the guitar doesn’t sound right, the recording won’t either. Getting the sound right at the source simplifies the recording process. That’s the first step,” he advised.
Clearly, there’s some groundwork to cover before we even think about setting up microphones. A successful recording hinges on the guitar’s condition. Investing time in a thorough play-through can save you double the hassle later. Listen closely: Is the guitar in tune? is the intonation accurate as you play higher up the neck? Are there any buzzing or dead notes?
Ultimately, does your guitar sound as you envision it should? If not, it’s time to make adjustments before hitting record. Forget about the latest plugin you saw advertised online; focus on the real-world setup.
Ultimately, does your guitar sound as you envision it should? If not, it’s time to make adjustments before hitting record.
Once you’ve ensured the instrument is in top shape, it’s time to evaluate the player. Are your fingernails trimmed for clean fingering? How smooth is your attack? Are there unwanted noises like string squeaks? While you might not notice them now, thay can become glaringly obvious once you apply compression during mixing.
Also, consider any non-musical sounds you might be making. A creaky chair might add character to a blues track,but wheezing,grunting,or other distracting noises will not enhance your recording.Trust me, I’ve learned this the hard way.
Room Acoustics Matter
Most of us lack a dedicated recording studio,so it’s essential to pay attention to the acoustics of your space. The proximity to flat surfaces like walls and windows can significantly influence your recording quality.
there’s a story about Robert Johnson being recorded in a room corner facing a wall. I’ve tried this technique myself, but I’ve yet to achieve the same intensity-perhaps it’s all about the source sound.
Berlin-based engineer Kian Moghaddamzadeh, who works at Hansa Studios with artists like U2 and Coldplay, offers encouragement to home recordists. “The beauty of recording at home is the absence of time pressure found in professional studios. However, the same principles apply. The quality of your space, the instrument, and the desired sound are all crucial-whether you want the guitar to stand out or blend into a larger mix,” he explains.
“Experimentation is key. You can build a personal library of sounds and textures that resonate with you, making it easier to get creative with your instrument and microphone choices later,” he adds.
Microphone Placement: The Key to Clarity
Now that your guitar sounds great and your room is conducive to recording, let’s discuss microphone placement. I recall a conversation with Will Ackerman,founder of Windham Hill,who described capturing the sound of Michael Hedges’ Aerial Boundaries with microphones positioned very close to the instrument.
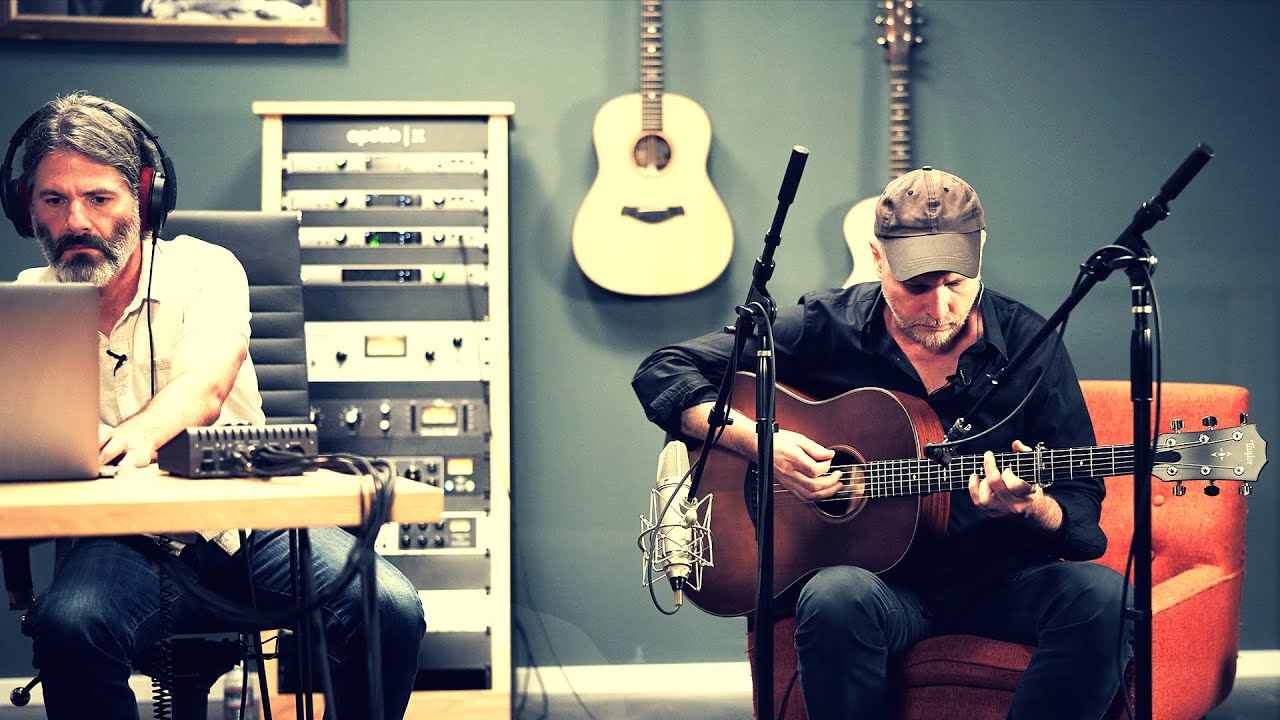
Close mic’ing was a revelation for me early on, but do you need multiple microphones? I consulted Hernan Romero, known for his work with Al Di Meola and Paco de Lucía, for his insights.
“I use a single microphone for every recording,whether it’s a Conde Hermanos flamenco guitar or a steel-string fretless. My go-to is an Earthworks SR30, and I use the space between the soundhole and the body as a guide-like an EQ slider,” he explains.
“Positioning the mic closer to the soundhole yields a fuller,bass-heavy sound,while moving it toward the neck provides clarity. Some suggest aiming for the body join or the 12th fret, but I find that too thin.I typically place the mic about six to eight inches away,allowing me to capture the nuances and dynamics of the performance.”
This is just the beginning. By focusing on the three essentials-‘Source’, ‘Space’, and ‘Where to place the mic’-you can avoid frustration later. Whether you’re recording like Bill Leader did with Bert Jansch in a 1960s Camden flat or capturing the acoustic brilliance behind Miley cyrus on a chart-topping hit, the fundamental principles remain unchanged. And that’s a beautiful thing.
Getting Ready: The Essentials

Universal Audio Apollo Twin X Duo Gen 2 ESS Audio Interface $1,199/£999
A reliable guitar audio interface is essential for achieving solid performance and peace of mind. The market is flooded with options, but the Universal Audio Apollo series consistently delivers high-quality results at 24-bit 196kHz. While it’s not the cheapest option, its capabilities are impressive.

DPA Core+ 4099 Instrument Microphone $920/£840
The best microphone for your needs is the one you have in hand. Consider thes German-made cardioid mics, which are commonly found in professional studios and are my personal choice for capturing the intricate sounds of beautifully crafted guitars.

DPA Core+ 4099 Instrument Microphone $760/£569
this Danish super cardioid microphone attaches directly to the instrument,making it an excellent choice for home recording. It’s lightweight, high-quality, and user-amiable, and it’s a favorite among fingerstyle guitarists like Gwenifer Raymond. If you’re feeling adventurous, you can even use a stereo pair!