While it may seem unconventional to follow one pickup feature with another, my recent exploration of the Telecaster 75th Anniversary edition pickups sparked a deeper curiosity. having had the chance to play several ’50s Telecasters, including a Broadcaster, I realized I had yet to directly compare the various Blackguard-era pickups.
To summarize, the bridge pickups of the T-style where originally wound with 43 AWG magnet wire until Fender transitioned to a thicker 42 AWG wire in 1951.A significant change occurred in 1955 when alnico V magnetic slugs replaced the less powerful Alnico III. This timeline suggests there are three distinct versions from the early 1950s alone.
crafting Your Own Pickups
As a novice in the pickup-making realm, I thought it would be insightful to create one of each type. My plan involved sourcing flatwork, slugs, and baseplates from a single supplier, along with two gauges of magnet wire from one manufacturer.
Provided that I could maintain consistency in winding the coils with the same number of turns and wax-potting them for an equal duration, I anticipated being able to draw clear conclusions about how each variation affects the overall tone.
Sourcing Components
While pickup parts are readily available, I opted to order kits from Axesrus in the UK, as it serves as a complete source for all necessary components. Though, I sourced the plain enamel magnet wire from Allparts UK for a slightly better price. When ordering, itS crucial to pay attention to details, as mismatched slugs and flatwork holes can complicate the process.
Additionally, some suppliers provide measurements in millimeters while others use inches, which can be confusing. The narrower diameter slugs introduced post-1955 measured 0.1875 inches (3/16-inch or 4.75mm). While Axesrus does not stock the earlier style 0.195-inch (4.953mm) slugs, they do offer 5mm slugs, which are close enough for practical purposes.
Assembly Process

I began by pressing the non-beveled ends into the flats using my arbor press, which made the task straightforward. Alternatively, a rubber mallet could be used to tap them in. The kits from Axesrus include tiny eyelets for soldering, which are inserted from the underside of the bottom flat.
Provided you have the correct flatwork for your chosen slug diameter, there should be a snug friction fit. I prefer to apply a small amount of superglue around the holes from the inside for added security, wiping off any excess.
Once the bobbins were assembled, Fender would typically mask off the eyelets, dip the bobbins in lacquer, and allow them to drip dry. This process likely aimed to minimize the risk of corroded magnet wire shorting against the slugs. If you prefer not to use lacquer, you can wrap tape around the slugs before winding. I opted for both methods to ensure safety and to achieve that distinctive vintage sheen.
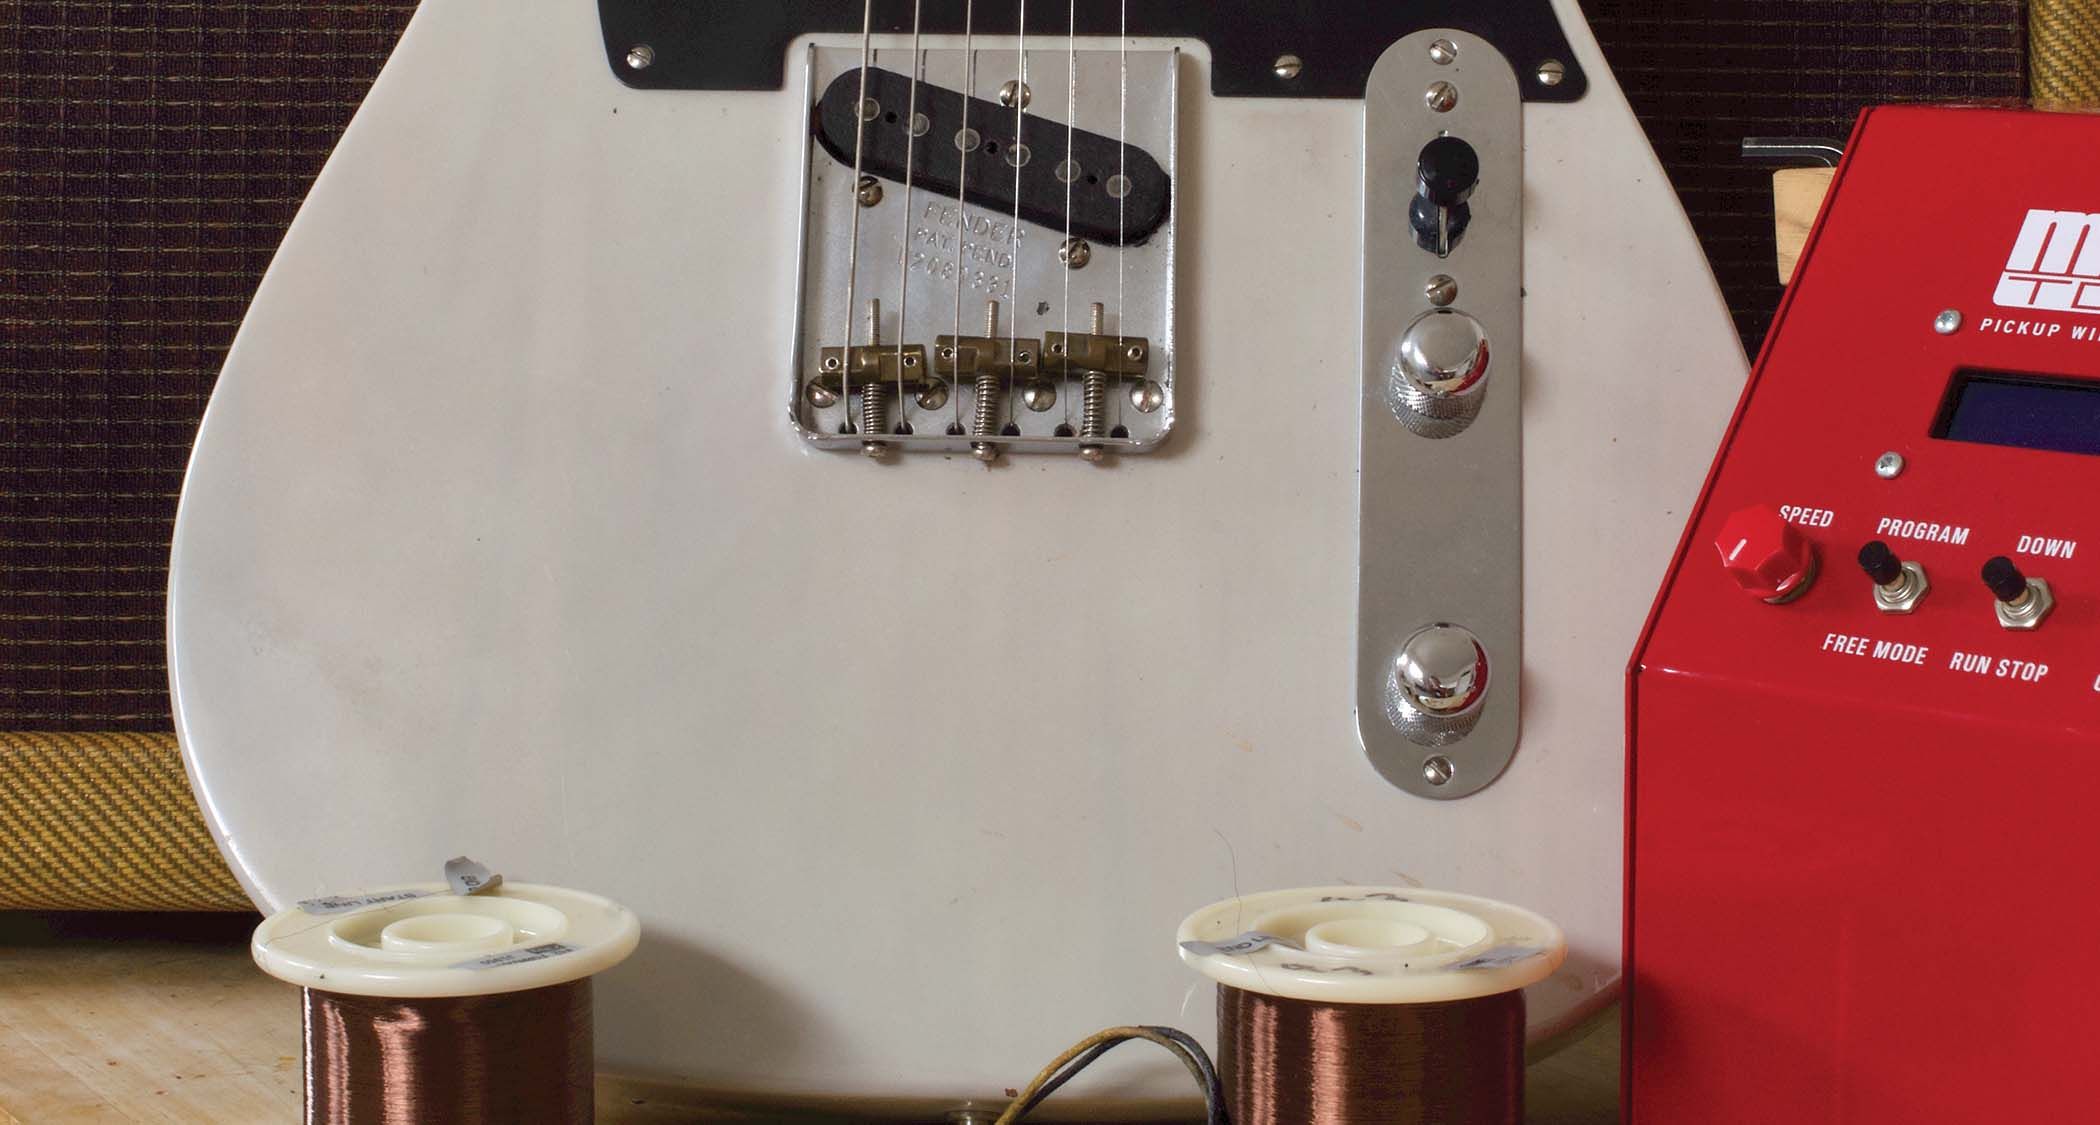
Winding the Coils

I won’t delve into the intricate details of setting up machines and winding coils, as there are numerous online tutorials available. One notable video features Fender’s legendary abigail Ybarra,whose technique is worth observing closely.
Using 42 AWG wire, I found that 10,000 turns resulted in a coil resistance of approximately 7.5k, which is robust for a mid-’50s T-type bridge pickup. In contrast, the same number of turns with 43 AWG wire yielded a 9.5k coil. Always double-check your resistance reading after soldering the leadout wires, and be cautious to avoid hot solder resin coming into contact with the coil.
Final Assembly

Fender wrapped string around T-type bridge pickup coils to protect them and allow molten potting wax to penetrate the wire. The company’s winders used black-tinted wax, which turned the white string black and secured it in place.
To apply the string, I unraveled about 10mm at the end to flatten it out, positioning it up the side of the coil from top to bottom. Pinching the flattened end against the coil, I wrapped the string around the coil in layers from the bottom flat to the top.After applying as many turns as possible, I cut the string and tucked the end between the final turn and the underside of the top flat.
Potting Process

I utilize a beauty salon-style wax heater to melt potting wax at around 60 degrees Celsius. Alternatively, a glass bowl with a bain-marie setup can work, but avoid using your partner’s favorite kitchenware-trust me on this!
While more experienced pickup makers may have specialized wax formulations, I use paraffin wax mixed with lamp-black powder and a bit of boot polish to achieve a black color. The duration for which pickups should remain in the wax is a topic of debate.
Some suggest leaving them for 10 to 15 minutes or until air bubbles cease to rise. This ensures that a pickup won’t squeal microphonically, but lighter potting retains some microphony for airy high harmonics and vintage chime.
From my examination of various vintage Fender pickup coils, I’ve observed that the potting wax typically only penetrated the outer layers, frequently enough leaving the inside of the coil unwaxed. They were generally semi-potted, and for vintage tonal characteristics, I find that three to five minutes of potting works well. If a pickup turns out too microphonic, you can always re-pot it, but you can never un-pot it.
Evaluating Tone

With four coils wound, bound, and waxed, it was finally time for testing. Rather of evaluating my own work, I invited my friend Ed Oleszko over, who brought along his 1955 tweed Super for a proper assessment.
Using my Dearnaley Taff Delta loaded with a genuine 1954 lap steel pickup for reference, ed tested the pickups in a US-made Fender Anniversary Esquire, with both guitars equipped with brass saddles.
“It has a beautiful midrange, lots of harmonics, and, with no hint of shrillness, it’s the one that works best in the Esquire’s back setting.”
Ed described the Alnico III with 43 AWG as follows: “This pickup doesn’t sound overwound in a dull and midrange-heavy way. I’d characterize the output as gutsy rather than hot. It has mellow treble, hi-fi clarity, and excellent balance that is very forgiving and easy to play, but it’s not a quintessential Tele-like tone. it sounds older and mellower, with substantial bass heft, although the lows do sound a bit soft, and it’s more woody than twangy.”
“It has a beautiful midrange, lots of harmonics, and, with no hint of shrillness, it’s the one that works best in the Esquire’s back setting. Once your ears adjust, it makes some regular Tele pickups seem a bit shrill and uncultured in comparison. It has a lovely oboe-esque voicing, and as a Gibson player, I feel very agreeable with the plummy midrange and the effortless way it sustains and blooms.”

When testing the alnico III with 42 AWG, Ed remarked: “This one has a huge sound, with a lot of low-end thump and a wide soundstage. It really sustains, but not quite and also the 43 AWG version, and it doesn’t generate as much of that Patent Applied For-like upper-harmonic bloom. This is very much a blackguard Telecaster sound with an aggressively confident midrange that never gets brash, and it’s the one that sounds closest to the ’54 lap steel pickup.”
“It’s twangier than the 43 AWG version, and the low strings have a springy bounce. The resonance peak seems higher,giving it a clucky quack,rather than the plummy voicing that makes the 43 AWG softer and woodier. It’s not as clear sounding as the 43 AWG, possibly because the midrange is congested with harmonics, but there’s a clickier front-end attack to notes, and when overdriven, the overall vibe recalls Springsteen’s Darkness On The Edge Of Town.”
regarding the Alnico V, Ed noted: “42 AWG with Alnico V slugs seems to generate an upper midrange peak and a bass lift with a slight dip in between. This pickup is clearer and more balanced akin to a ‘loudness button’ applied across the entire frequency range. Nothing stands out, and it sounds more modern as it lacks the quacky and honky vocal midrange of the 42 AWG. However, it’s not as characterful as the others.”
“It provides the best note separation and has the tightest bass. When the volume is cranked up, it sounds punky, and when turned down, it achieves that jangly faux-acoustic quality. There’s a lot of sustain, making it easier to play since it doesn’t require as much physicality as some vintage pickups.”
“It’s perhaps the most versatile of the three,and I believe it would work well across various musical genres. The downside is that now that I’ve heard how distinct they all sound, I want three Telecasters rather of just one, as they are sufficiently different to warrant it!”

Conclusion
as I mentioned earlier,I’m just beginning my journey into pickup making and repairing,and these were only the second,third,and fourth T-type pickups I’ve crafted so far.
If you’re interested in trying it yourself, you can set up with a winding machine, a magnetizing rig, and other necessary tools for under £200, while the wire and parts for a T-type bridge pickup should cost less than £20.
give it a shot!